Gemstones
Gemstones are prized for their beautiful colours and patterns and are used in a range of applications including jewellery, decorative items and as important features of mineral collections.
Gemstone Factsheets
13 Fact Sheets in this sectionWhat are gemstones?
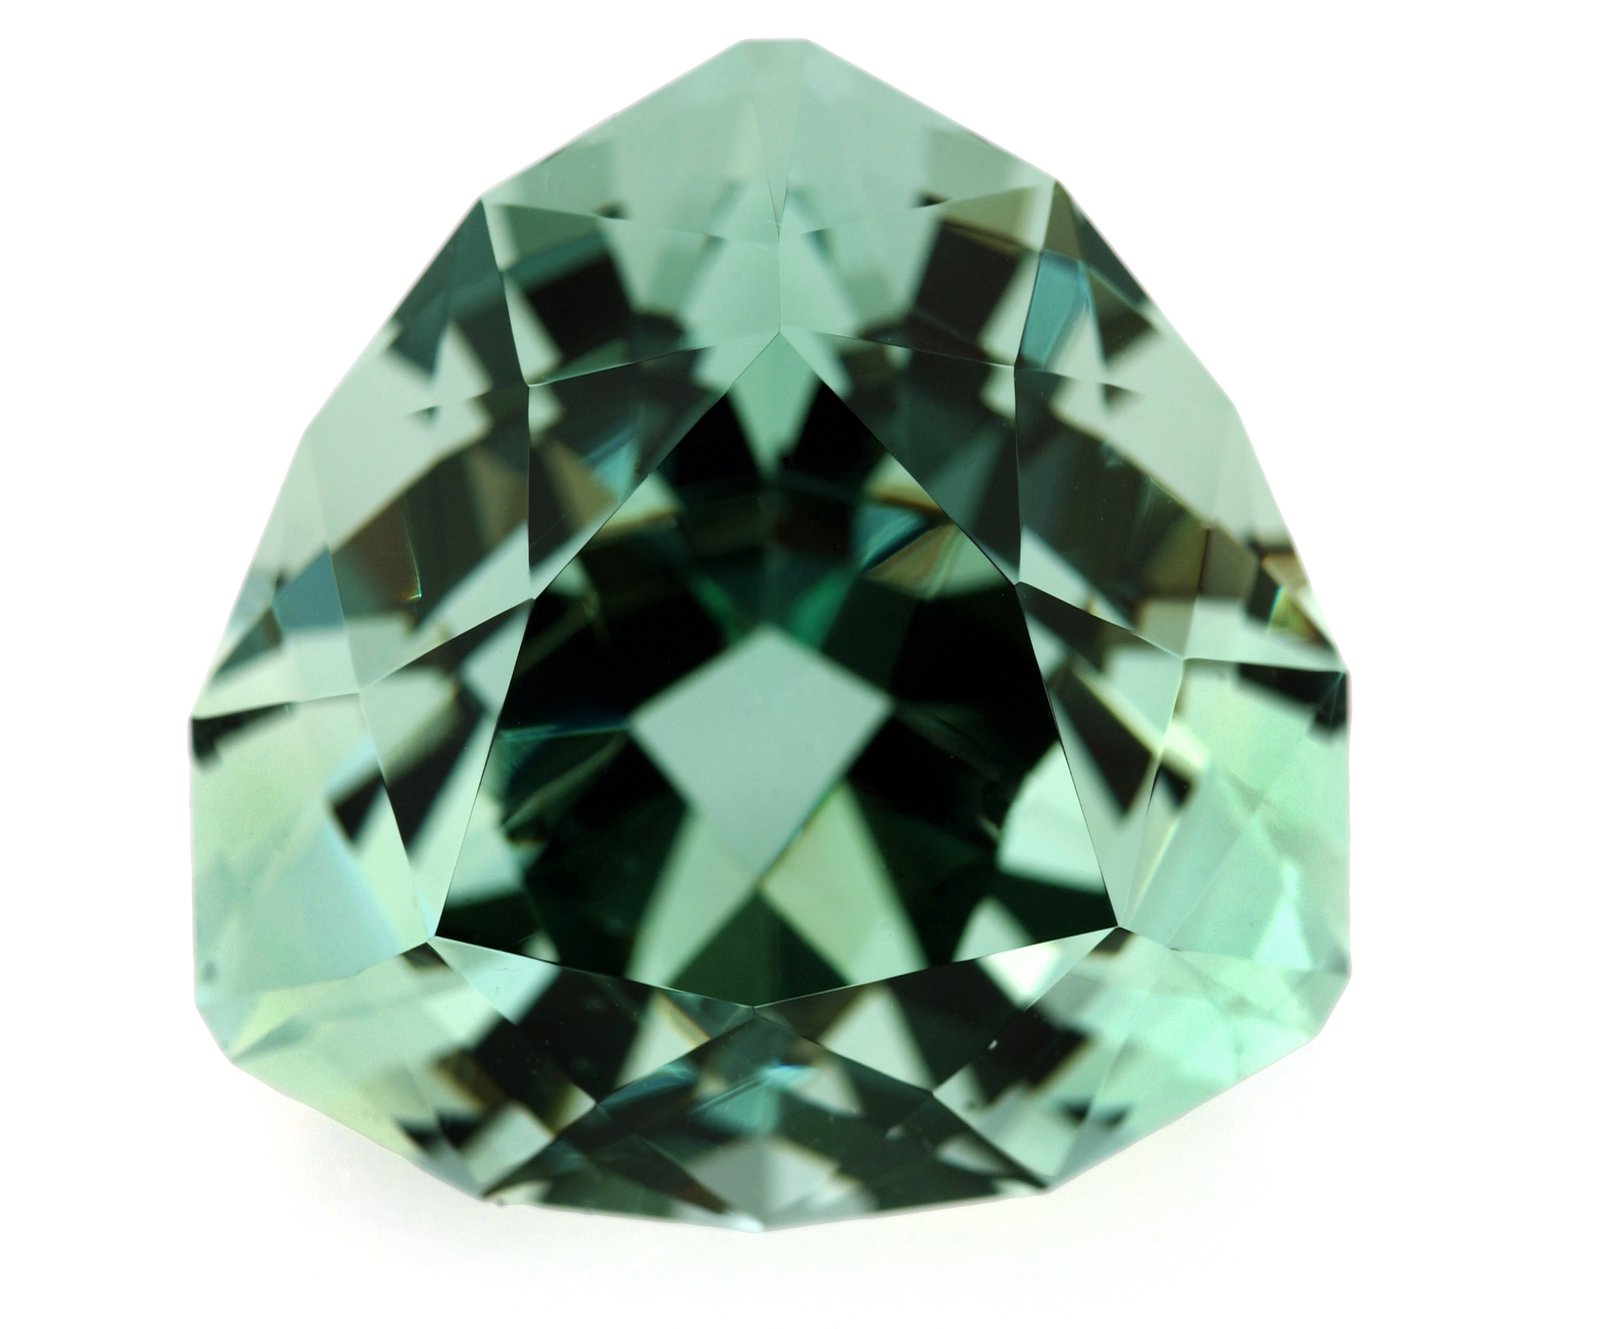
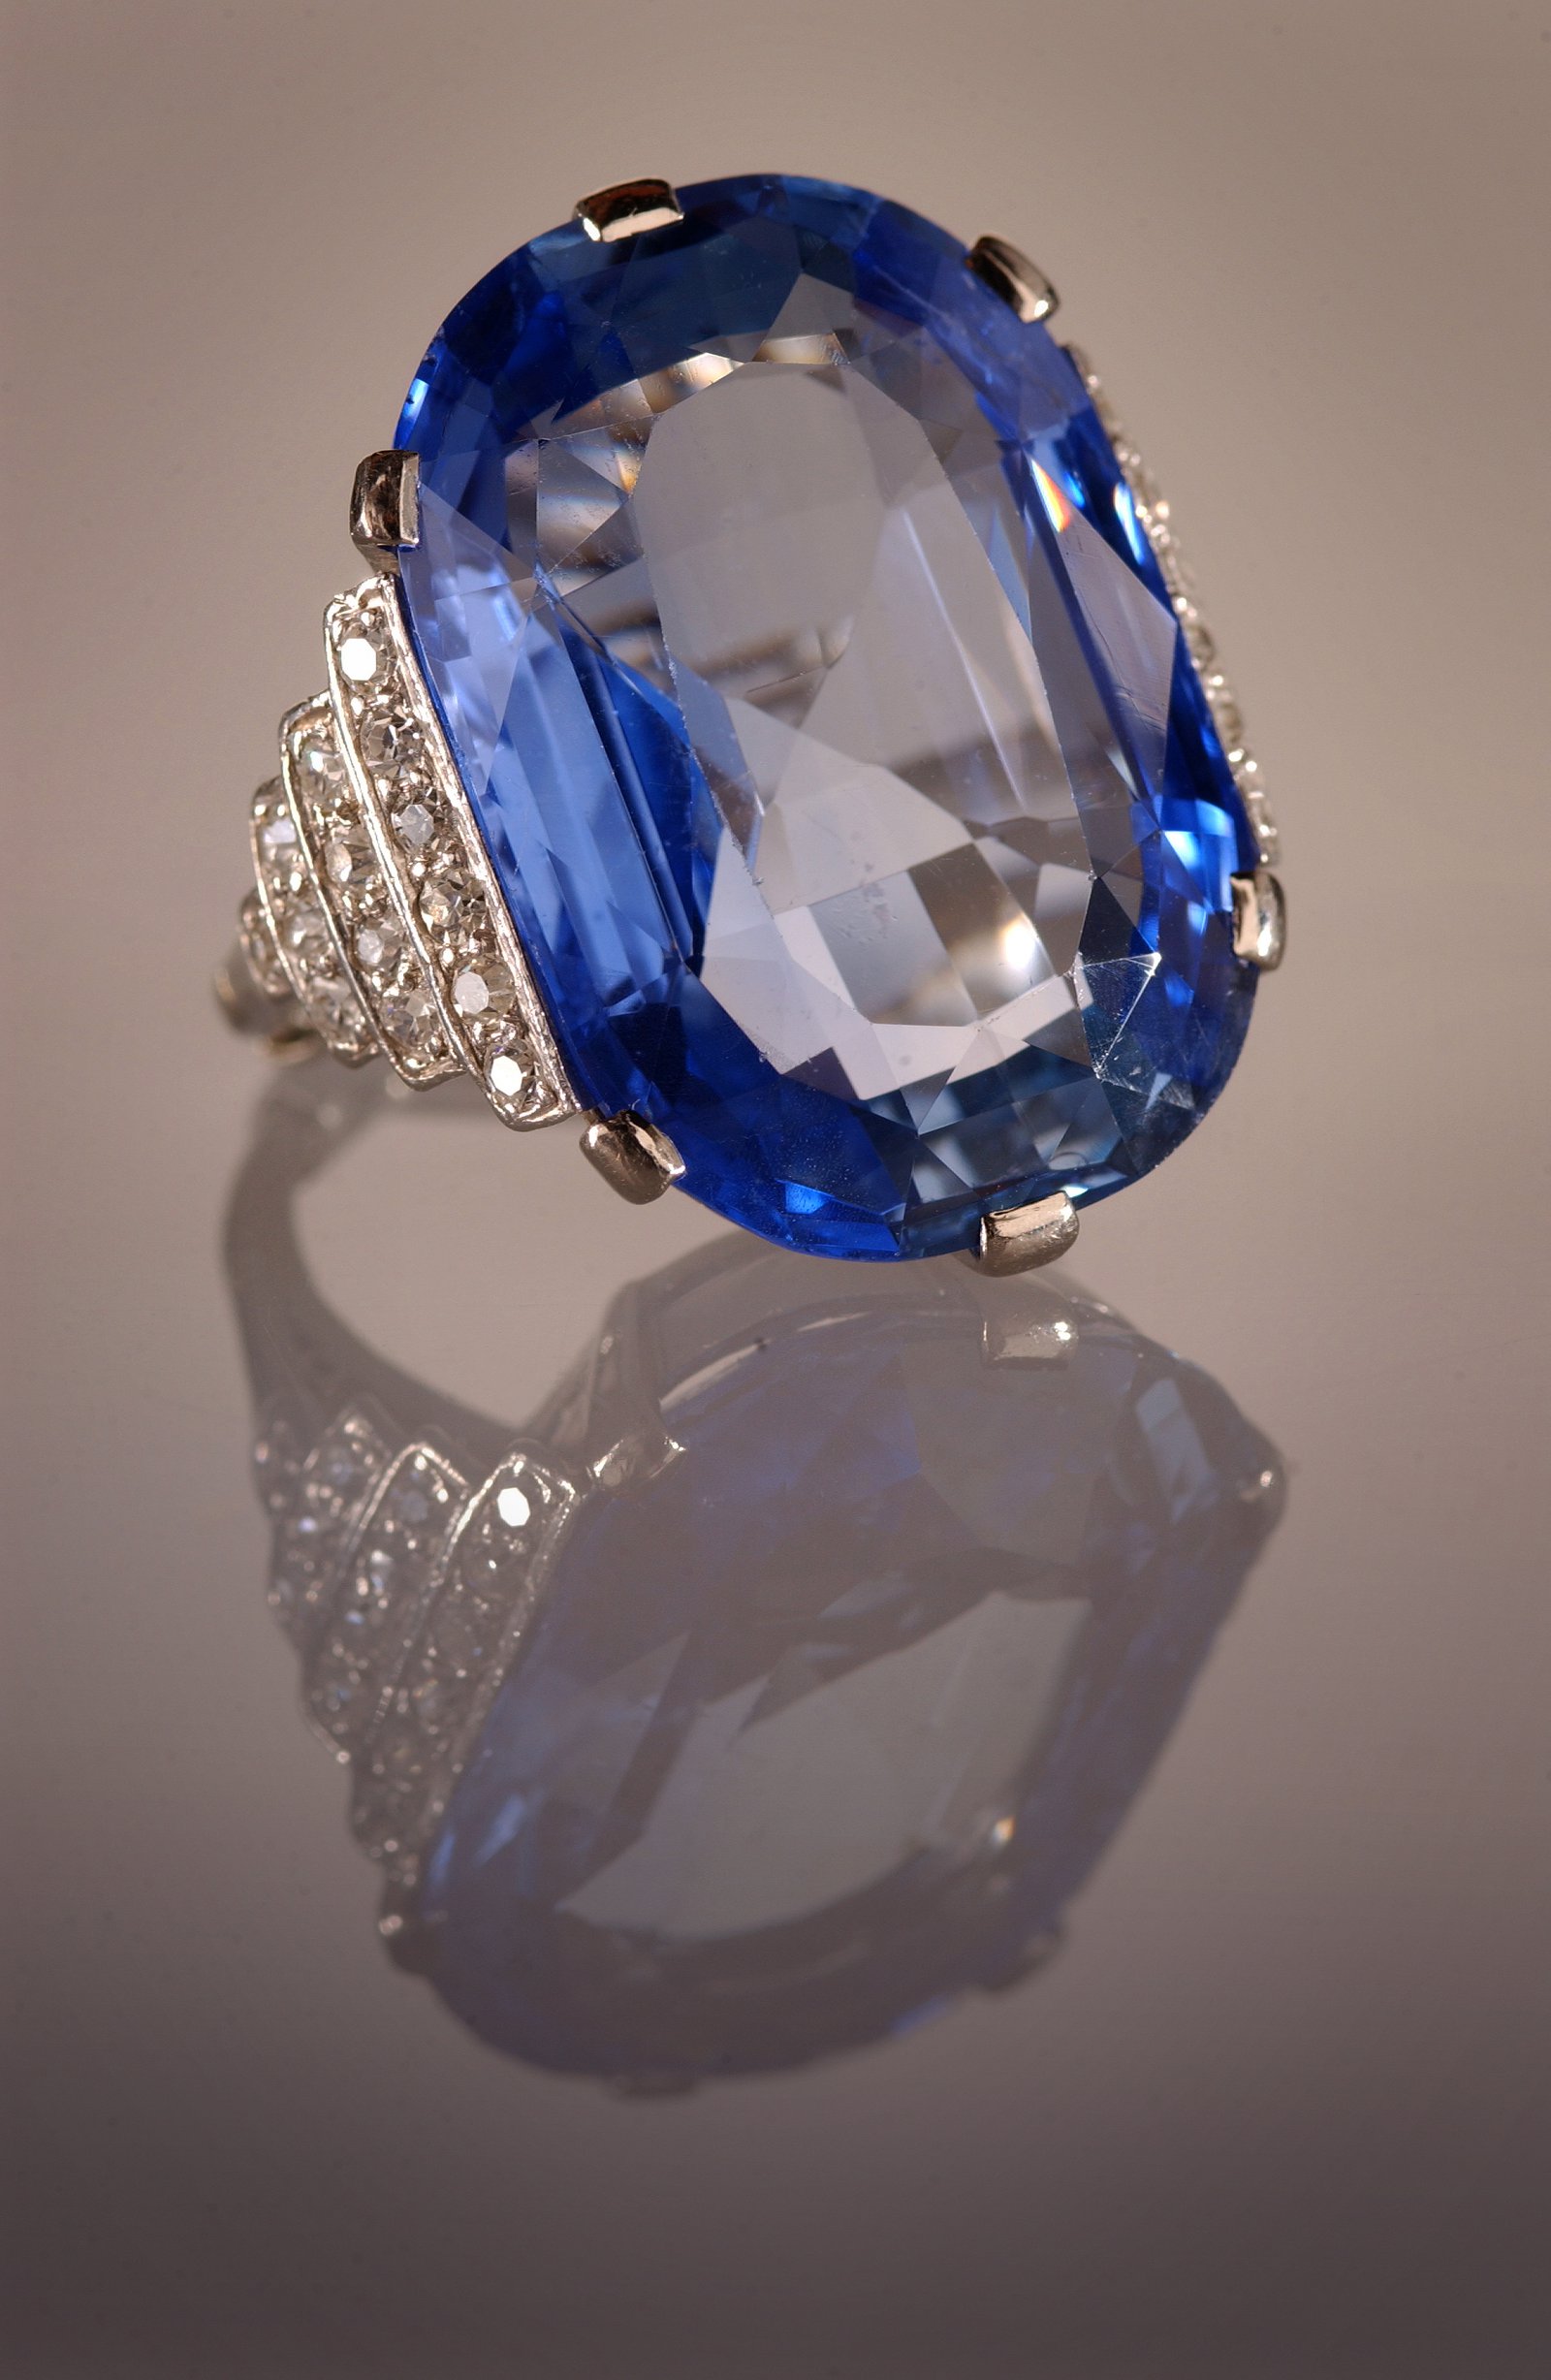
When we speak of gemstones, we usually mean minerals that have been cut and polished. However, over the ages, humans have used a great variety of materials for decoration.
Minerals have been cut and polished, and organic materials like coral, pearls, amber and ivory have been fashioned. Small fossils are often set in jewellery. Widespread materials like horn, bone, shells, seeds, even wood abound, as well as made materials like glass and pottery.
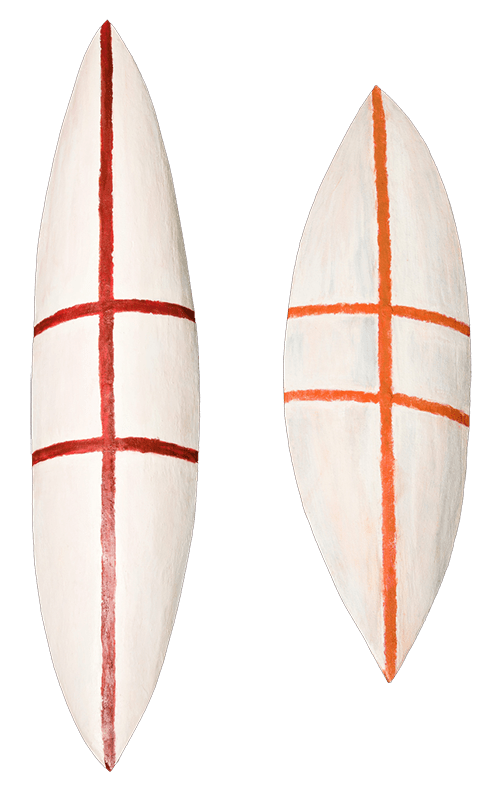
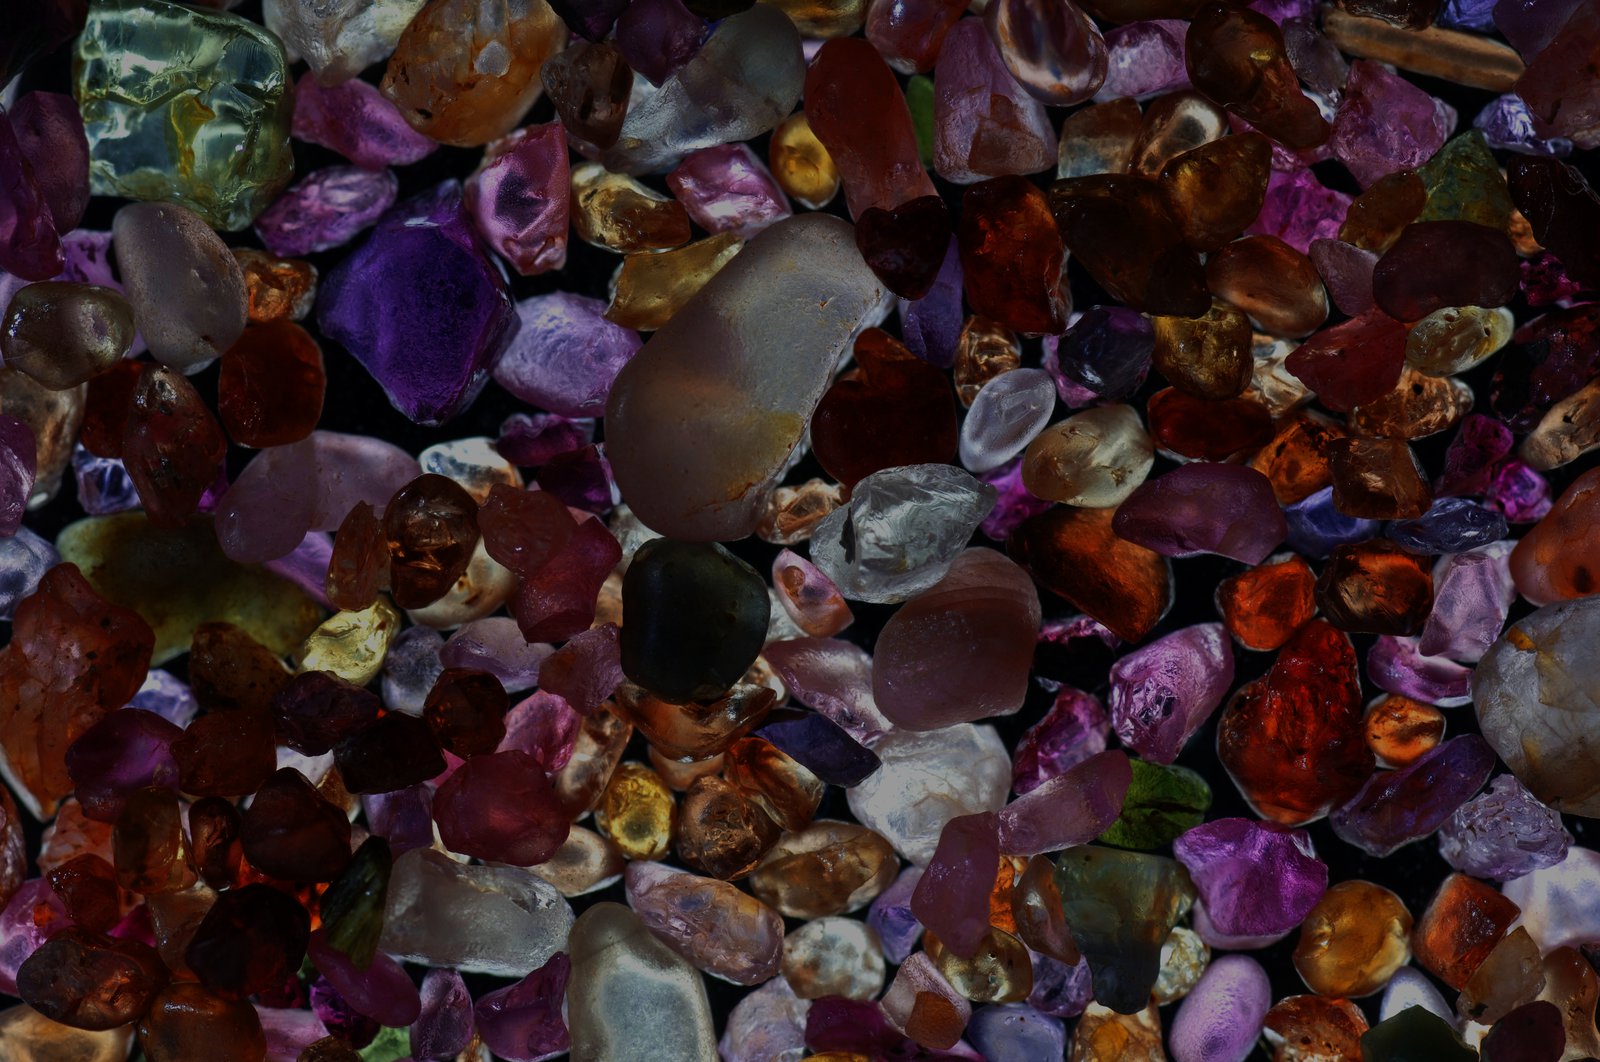
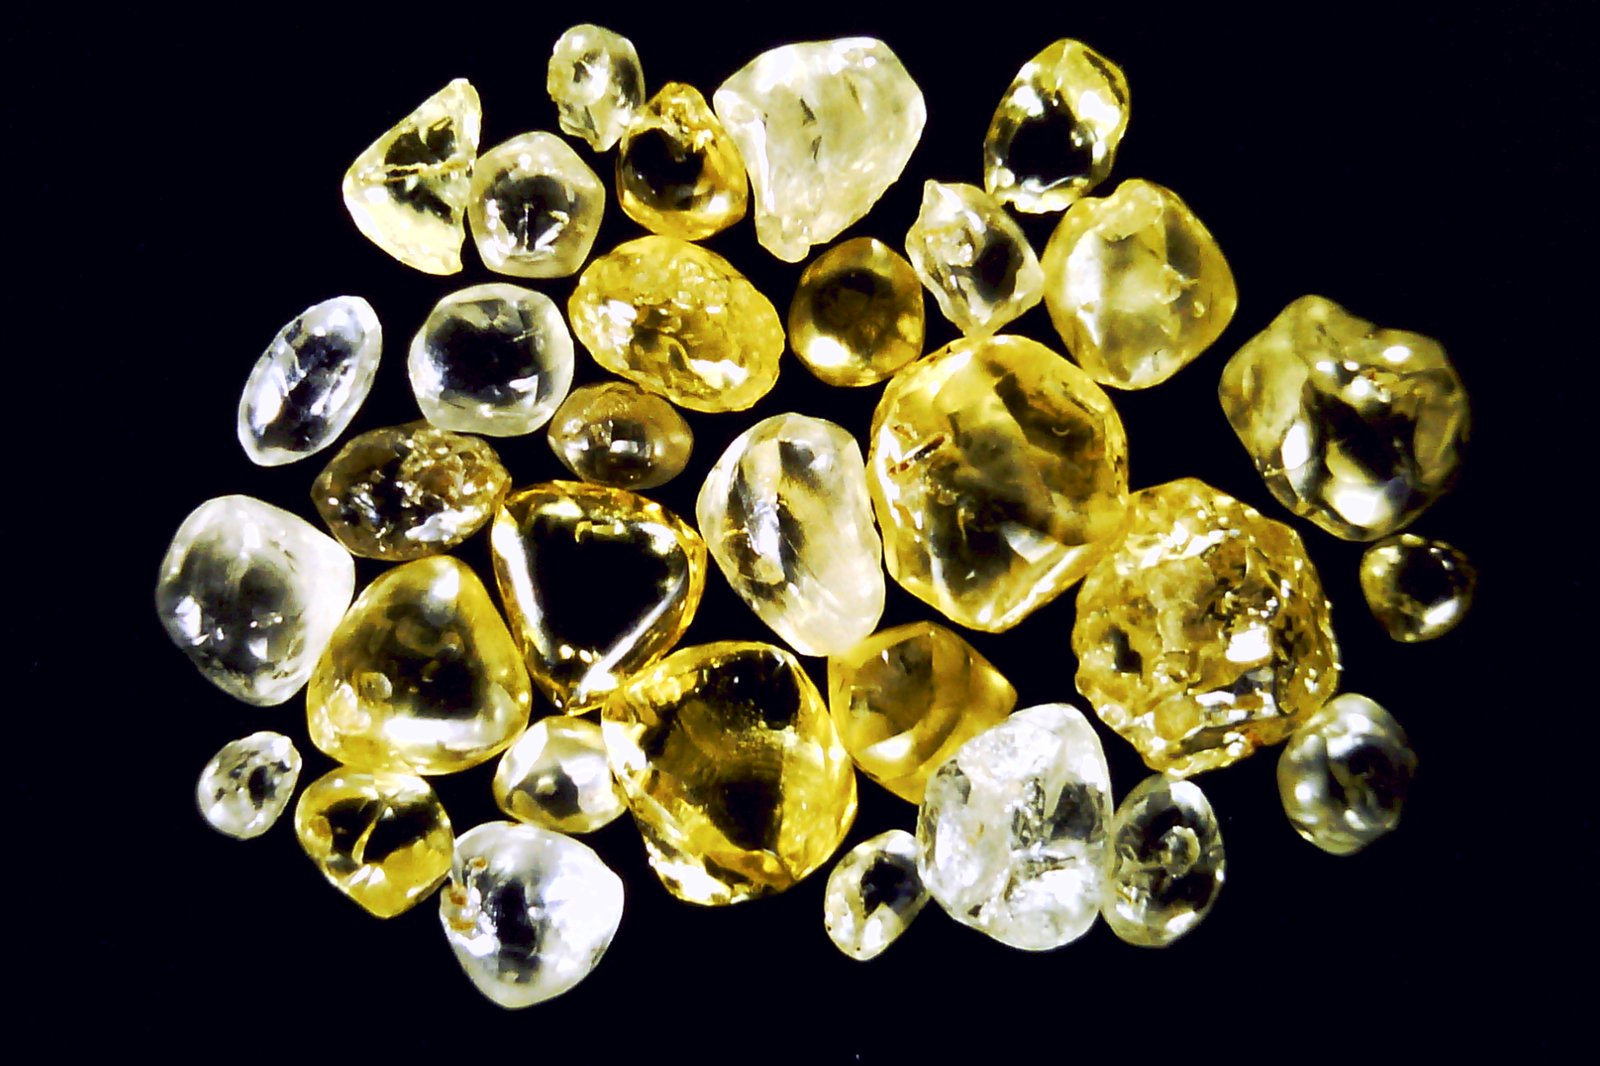
Not all minerals are suitable for gemstones. As well as beauty, a mineral must possess hardness and stability, and occur in crystals or masses large enough for cutting. Such material is very rare. Many minerals are small, opaque or easily damaged. Of over 4000 known minerals, only about 100 minerals are ever worked and only about 20 are commonly used in jewellery.
A number of opaque minerals and rocks with attractive colours and patterns are polished to make beads, carvings, bowls and decorative items. Such minerals are broadly termed 'ornamentals'.
Collectors' gemstones
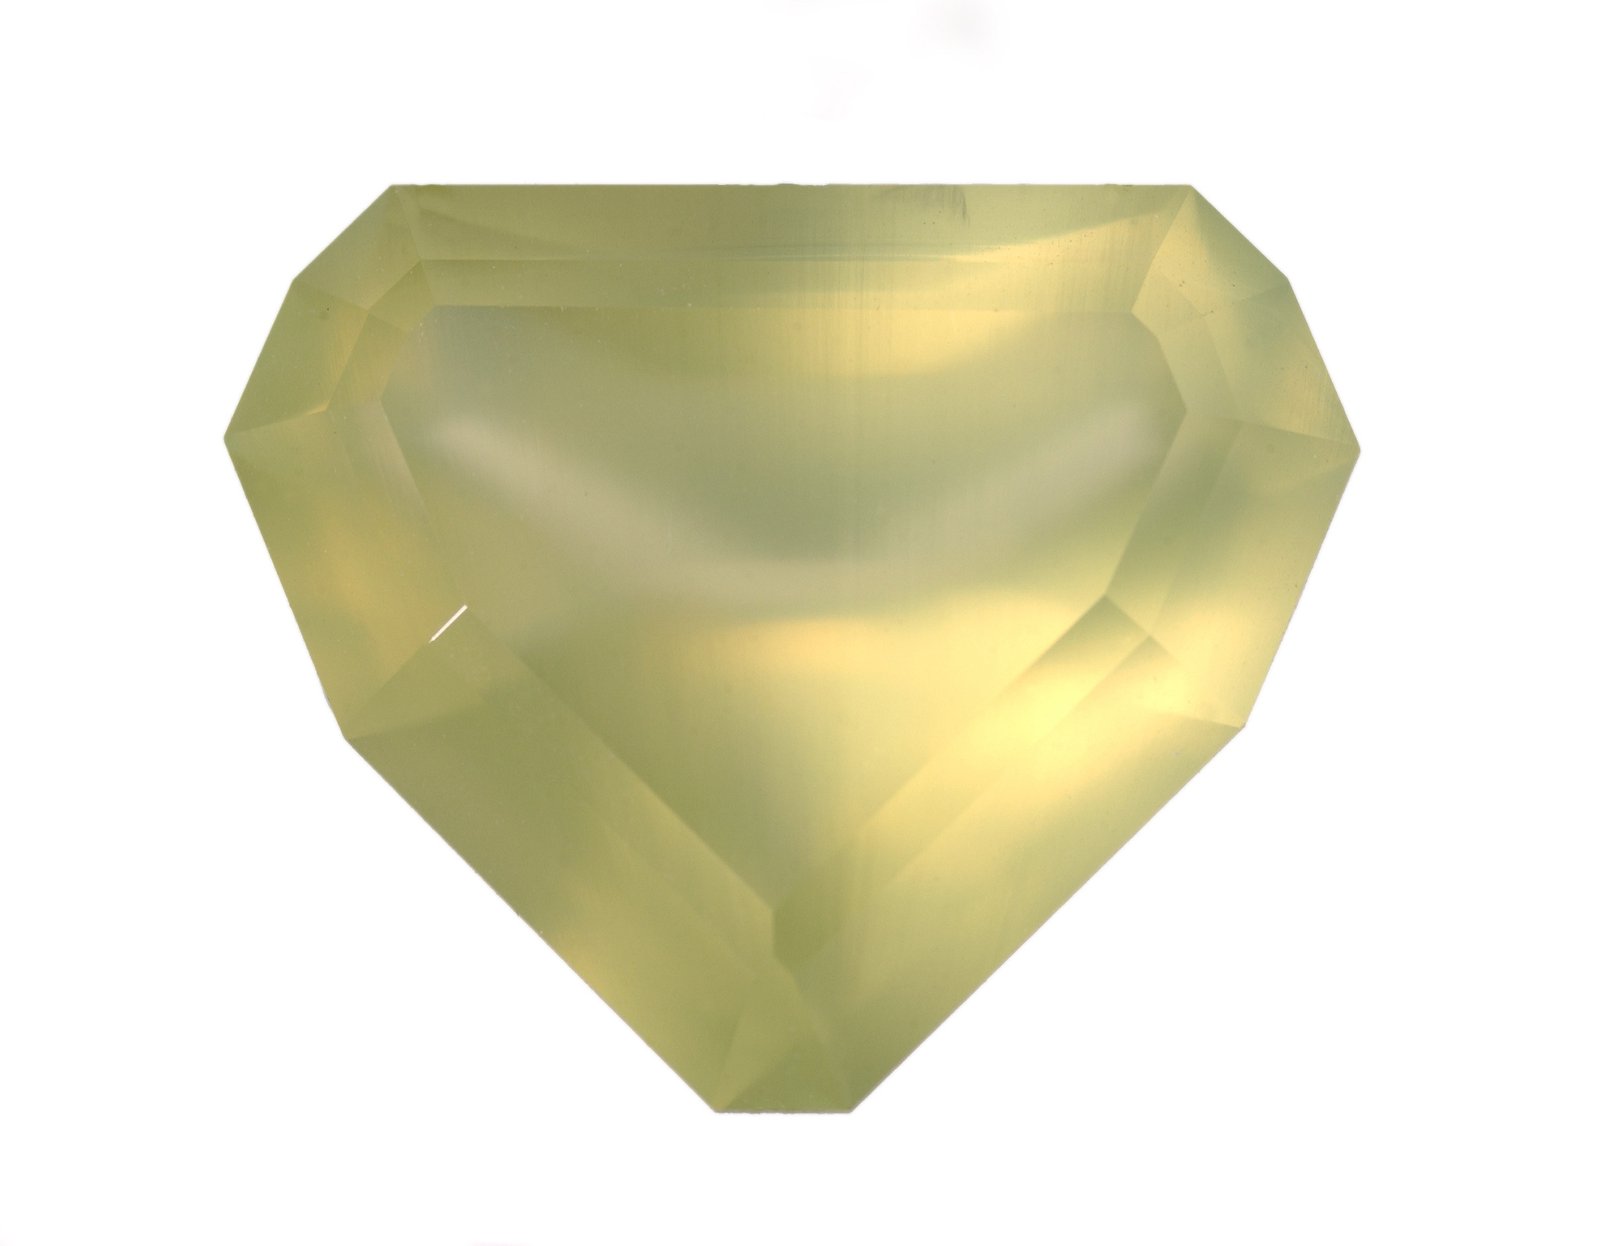
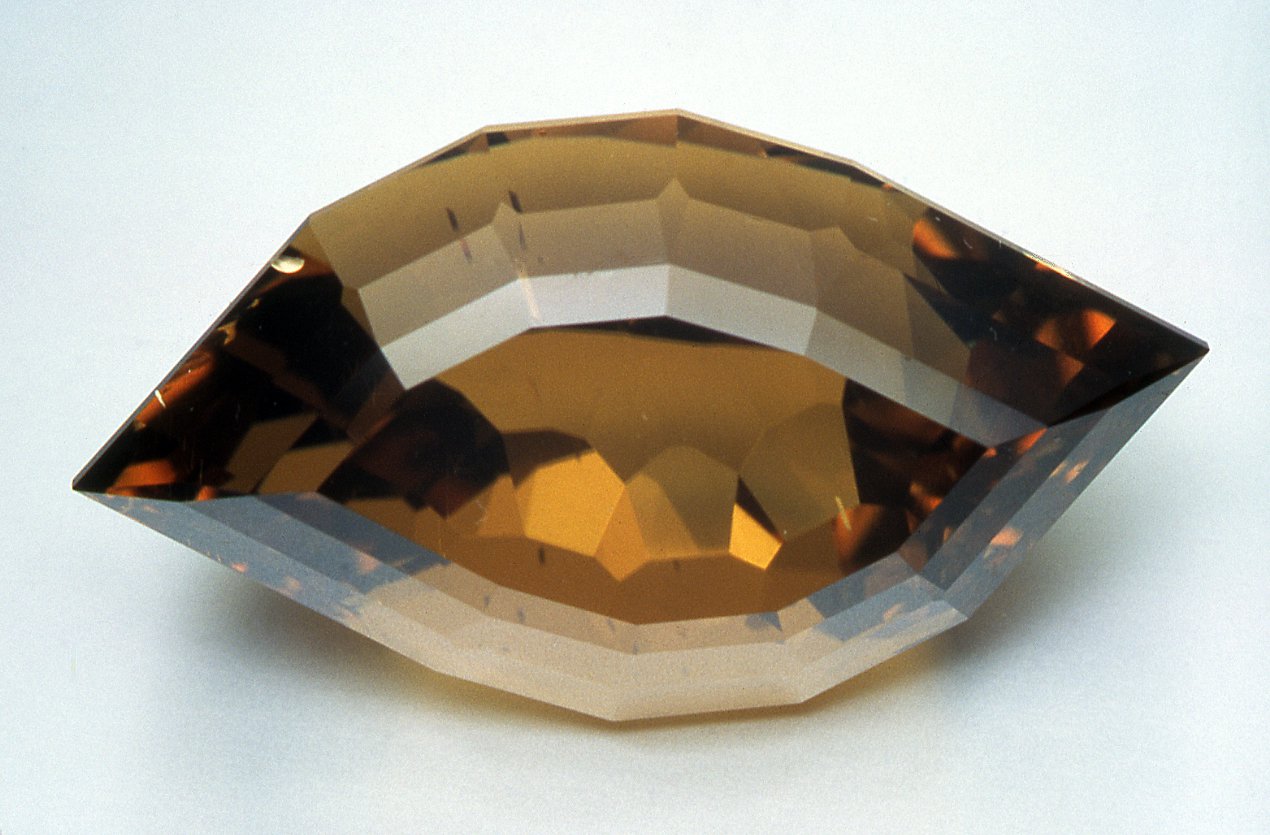
Some gemstones are too fragile for wear or use and yet they are faceted because of their beauty and rarity. These gemstones are known as collectors' stones and are prized by individual collectors and museums. They present a challenge to the cutter because of their softness, perfect cleavage or sensitivity to heat or light.
They are wonders of the cutter's art, often revealing unexpected worlds of beauty inside an unlikely mineral.
More about gemstones
Gem deposits
Geological origin of gemstones
Identifying gemstones
Cutting gemstones
Support our research
Help us to protect Australia and the Pacific’s vital natural and cultural heritage for generations to come. With your support, our inspiring scientists, explorers and educators can continue to do their groundbreaking work.
Make a donation