Shaping the Earth


What makes the Earth unique? Where does it fit in the Solar System and, ultimately, the universe? Take a look inside the Earth and find out what it is made from and how it is structured. Look at the processes that shape the Earth.
Age, structure and composition of the Earth
Find out about the structures and materials that form our Planet.


Earth's surroundings
Learn about Earth's cosmological environment.


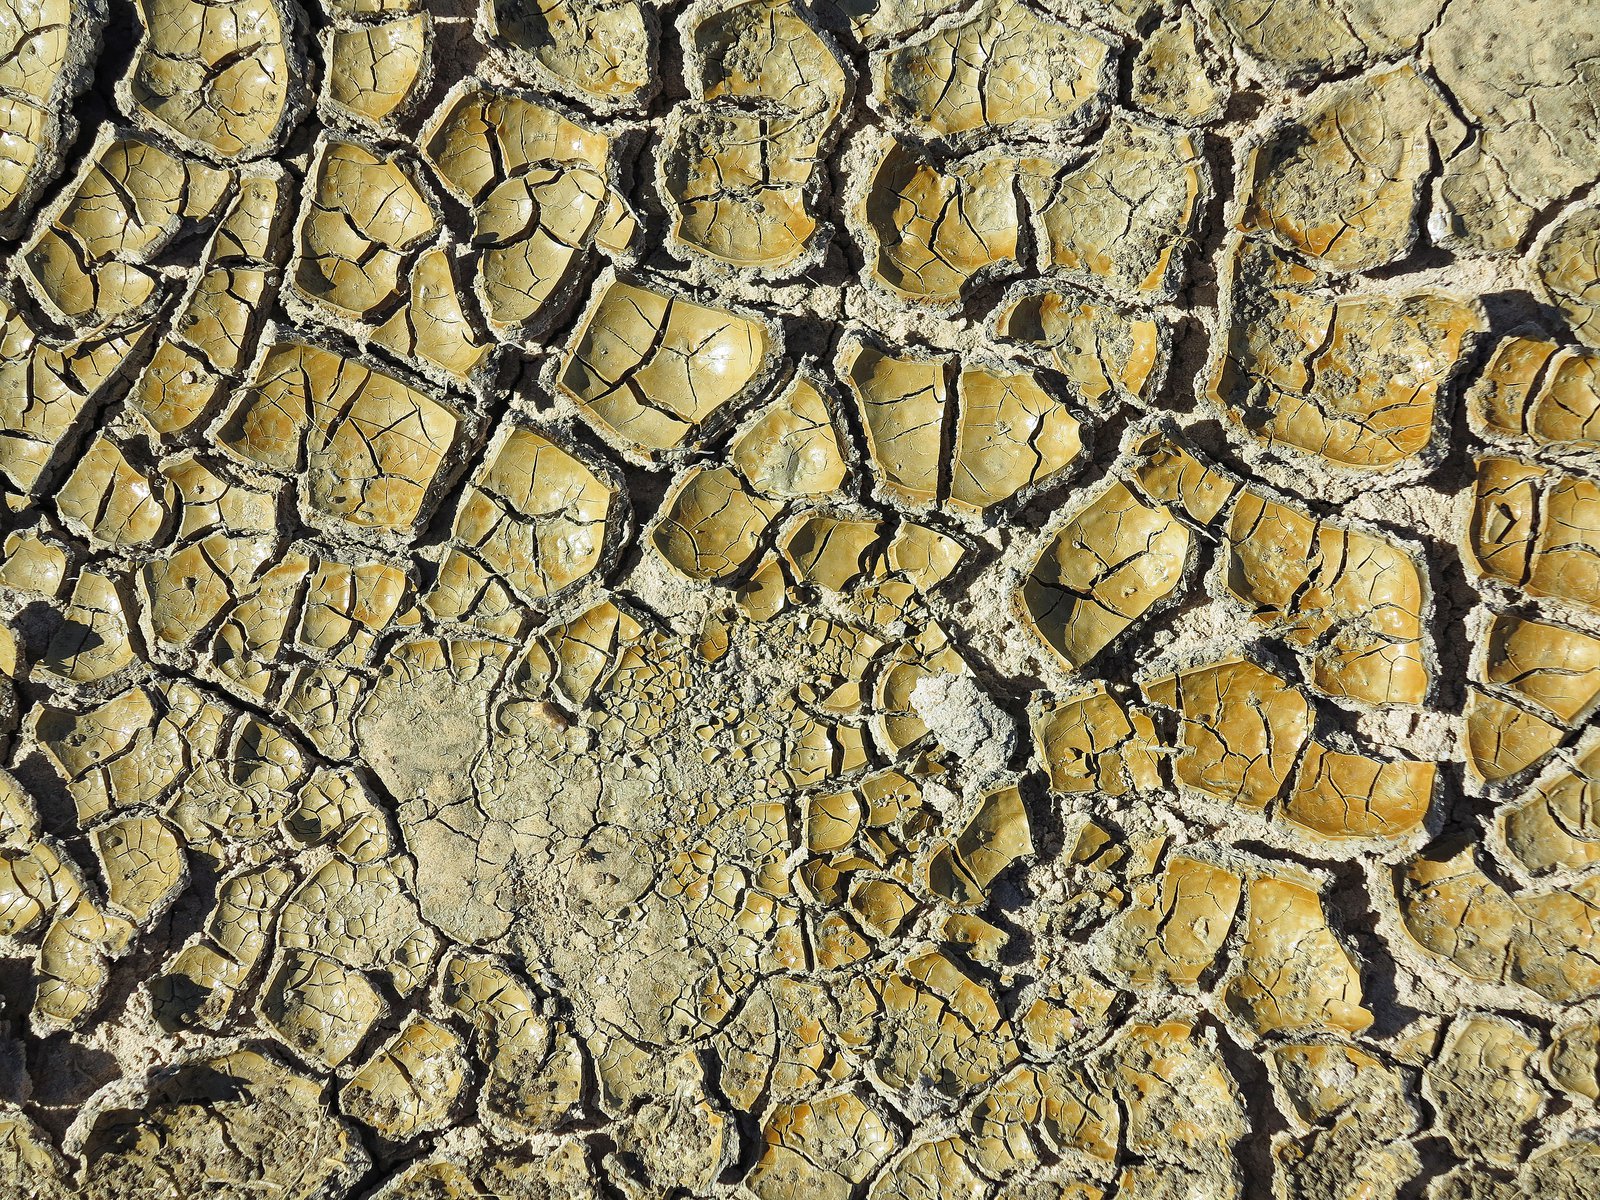
Sedimentary processes and structures
Sediments are formed by the breakdown of pre-existing rocks.


Volcanic and Magmatic processes and structures
Volcanoes create material for rocks and landforms. Igneous rocks are formed by solidification from a molten state.


Metamorphic processes and structures
The word metamorphism comes from Greek and means 'change of form'.